Lands of America has some very powerful mapping displays, but they only work if you map your property. Here are some steps to help get your started. The video above also contains an online tutorial for using our suite of new mapping functionality.
How to map your property location
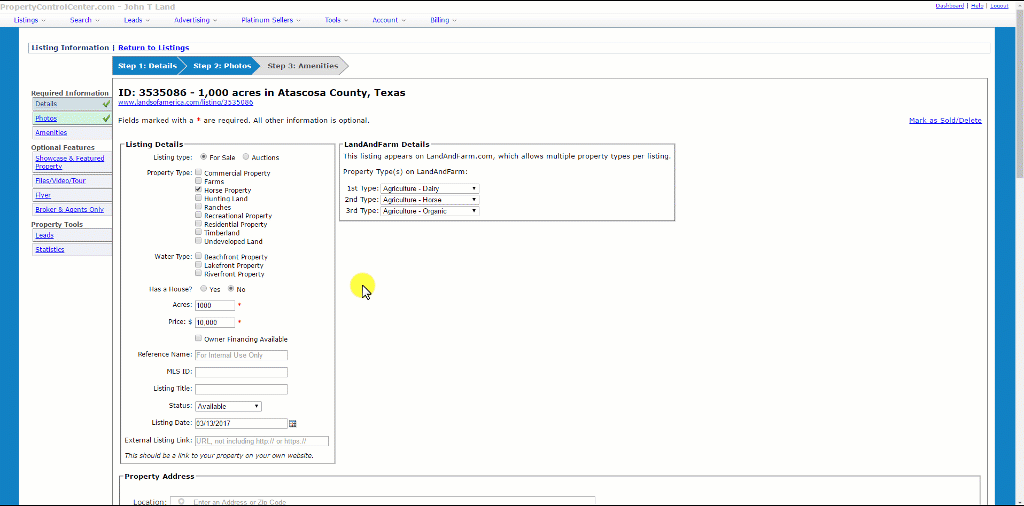
To get started, if you know your property address or zip code, enter it into the Location field in the Property Address section. This will pre-populate city, state and other information for your listing. Alternatively, you can manually enter exact latitude and longitude information to pinpoint a specific location on your map.
Both these options are great in order to show your property as a pin on a map (as well as to ensure your property displays in related buyer searches). However, especially with large acreage properties, this tells you nothing about what the property terrain looks like, or even where on the property the pin is. The best solution is to draw the property boundaries or map your property’s parcel information.
To aid in mapping properties, there are several controls located directly on the map, in the bottom right and top left corners. The right corner contains a ‘+’ and ‘-‘ slider that allows you to zoom by clicking ‘+’, or zoom out by clicking ‘-‘. You can also click on the map to drag in direction you need.
In the menu at the top left of the map, there is a Layers tab that you may find useful in setting boundaries and mapping the location of the property. Click this menu to toggle the map to the street view, satellite map, terrain and topographical map options.
How to add parcel and custom property boundaries
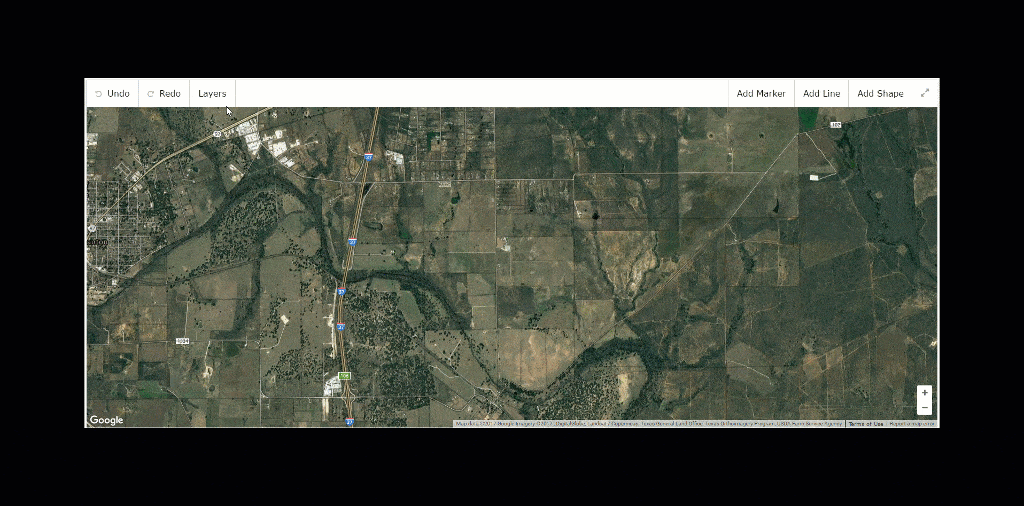
For many locations, on the map you can view parcel information and click to locate your property within a specific parcel. Once you have highlighted the pre-set parcel boundaries, you can then customize your map to include markers like houses, barns and wells, as well as upload photographs and well as customize your markers. These features are available in the Add Marker and Add Line tabs in the top right-hand side section of the map menu.
To map a property that does not automatically map, either due to deficiencies in Google Mapping in some rural areas or a lack of specific address, you can also draw your own boundary lines on the map. Click on the Add Shape tab in the top menu and select the Parcel option. You can then create your shape by clicking on at least three points on the map. You can complete your shape by clicking on the last point on the map. To adjust a boundary point, you may click, hold, and drag the point to the correct spot or click the “Reset Map” button located directly above the map.
Once you save your changes to the property, your boundaries will now appear in search results and maps with a property boundary!
Why should you map the exact location when it is not required for listing a property?
This will allow the property to display in our increasingly popular map search, which allows potential buyers to look over an area and see exactly where properties are listed. You may find that if the system was unable to automatically map the property, that your property is mapped to the nearest city.
In addition to correct location for map searches, the also-optional property boundary tools can be used to show the entire property to people using our map search, or when looking at a detail of your property. Instead of manually drawing lines in paint or scanning a low quality image, you can put the boundaries directly onto an interactive map that will be shown on your listing page.
Other mapping tools available to Land.com Network customers
The Land.com Network property mapping tool also allows sellers to embed MapRight and TerraStride Pro maps. This is as simple as expanding the “Embed Code for MapRight or TerraStride Maps” option below the main and adding your embed code to this field.
For this and more about some of the other features available for listing maps, read our article on Mapping Features Available to LAND.com Network Sellers.