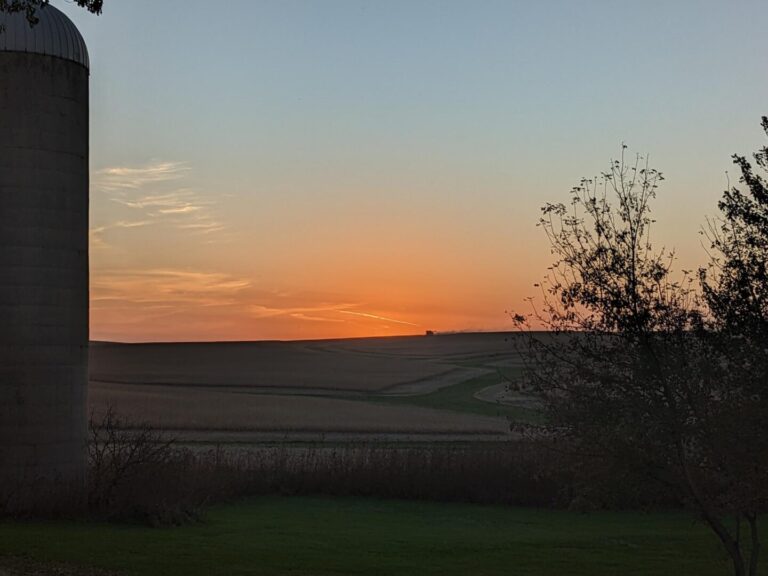
Winter on a rural property isn’t just about cozy fires and snow-covered fields—it’s about being ready. Blowing snow blocks driveways, frozen pipes burst in outbuildings, and equipment failures leave you stranded when you need help most. The key difference between a manageable winter and a crisis often comes down to preparation timing. Whether you’re a seasoned landowner or new to country living, these seven smart steps—organized by when you need to tackle them—will help you prep your property before the cold sets in.
Having spent a few years living on rural property, I had to learn the hard way the benefits of being prepared before the temps drop and the snow falls.
Part I: Critical Pre-Freeze Tasks (Do These First!)
1. Get Winter Machinery Ready Before the Freeze
Cold weather transforms simple repairs into frozen-finger ordeals, and dead batteries become immovable obstacles. Your snowplow saves your access road, your generator powers your heat, and your tractor moves essential supplies. This is all for nothing if they don’t start when temperatures plummet.
Action Checklist:
- Test all winter equipment now: snowplows, blowers, generators, tractors, and snowmobiles
- Change oil to winter-grade specifications (thinner oil flows better in cold)
- Load-test batteries and replace any showing weakness
- Top off fuel tanks and add stabilizer to prevent moisture buildup
- Store equipment in accessible, sheltered areas with clear paths
The relationship is simple but critical: maintained equipment starts reliably, reliable starts mean cleared roads, and cleared roads ensure emergency access. This chain of preparedness begins with autumn maintenance, not winter breakdowns.
Pro Tip: Create a laminated start-up checklist for each piece of equipment and hang it nearby. Include choke positions, warm-up times, and emergency troubleshooting steps.
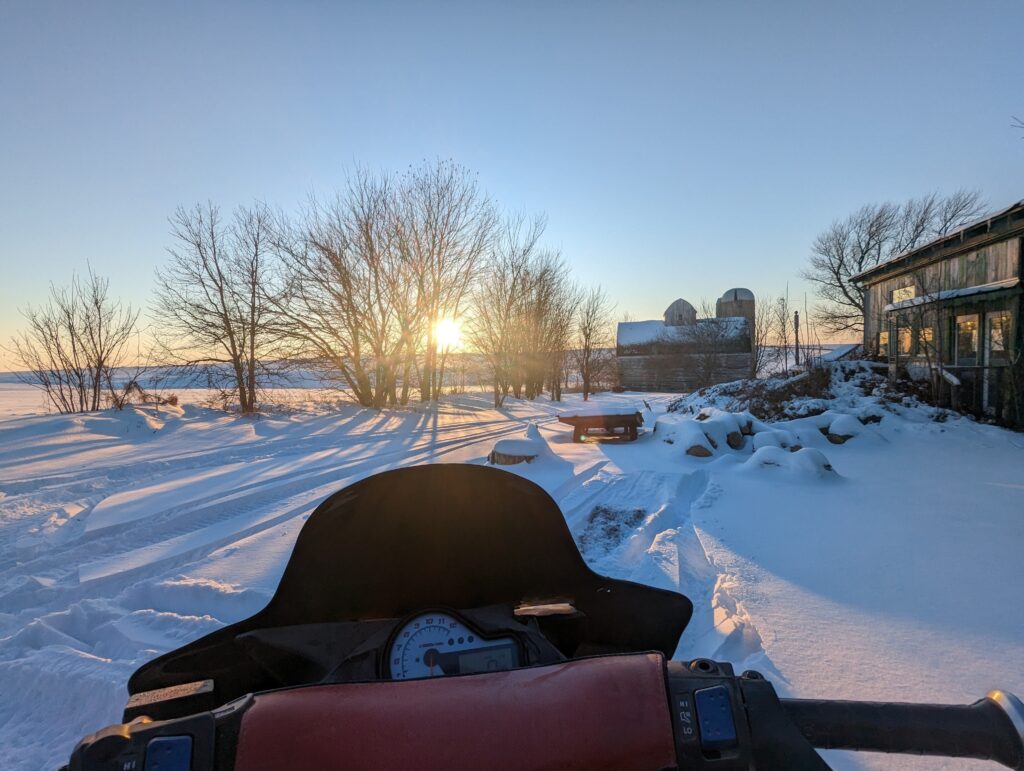
I didn’t have a plow or any equipment to help clear snow but I did have snowmobiles. I always told myself I’ll get it ready, I’ll get it ready and before you know it there’s a foot of snow on the ground and the sled won’t turn over and you’re freezing trying to figure out why it won’t start. I did have the luxury of having a heated garage and it is something I highly recommend if you do plan to live in a rural area that experiences cold winters.
2. Winterize Water Systems and Pipes
Water expands when it freezes, and that expansion cracks pipes, splits fittings, and destroys pumps. Rural properties face unique challenges: longer pipe runs mean more exposure points, well houses sit isolated from home heating, and outbuilding plumbing often lacks proper insulation. Each vulnerable point requires specific protection before temperatures drop below freezing.
Critical Protection Steps:
- Drain all irrigation lines completely (compressed air ensures total evacuation)
- Wrap exposed pipes with heat tape, then cover with foam insulation
- Install thermostatically controlled heat lamps in well houses
- Disconnect and drain all garden hoses and outdoor faucets
- Pour RV antifreeze into rarely-used drains and toilet traps
The physics here are unforgiving: water freezes at 32°F, frozen water expands by 9%, and that expansion generates up to 2,000 pounds of pressure per square inch. Heat tape prevents freezing, insulation maintains temperature, and proper drainage eliminates the risk entirely.
Pro Tip: Install remote temperature sensors in vulnerable areas and connect them to indoor monitors. A $30 sensor can alert you before a $3,000 repair becomes necessary.
I was very lucky that I never had a pipe burst in my home BUT I did have a pipe start to freeze. Luckily, I was able to catch it and get a heater under it before it could burst. I wasn’t so lucky when it came to my garage. My garage was separate from the house and had water run to it. It was also well insulated and had heat. My first winter there was a stretch of days that got well below zero and caused my pipe to burst in the garage. I had to trudge through the snow and cold to the garage to shut off the water. The following winter I thought I took the proper precautions and shut off the water in my garage and then the shut off valve failed. I am not 100% certain it failed from freezing because the garage was warm when I went in there, but the entire shutoff valve blew apart. This required me to go into my well house and find the shutoff valve in the dark and cold.
3. Secure Livestock and Animal Shelters
Animals generate their own heat, but winter winds steal it away while snow blocks their movement and ice threatens their water supply. Proper shelter preparation keeps animals healthy, reduces feed requirements, and prevents emergency veterinary visits during the worst possible weather. Each species needs specific accommodations, but core principles apply across all livestock.
Shelter Preparation Checklist:
- Seal drafts at animal height while maintaining ventilation above
- Deep-clean bedding areas and stock 150% of normal bedding supplies
- Install and test water heaters or heated buckets (backup power essential)
- Position feed stations away from prevailing winds
- Create windbreaks using temporary panels or straw bales
- Verify gate latches work smoothly—ice makes everything stick
The thermal equation for livestock is straightforward: dry animals stay warm, warm animals need less feed, and well-fed animals maintain body condition through spring. Drafts increase this feed requirement by up to 30%, while proper windbreaks reduce it proportionally.
I had chickens on my property and the biggest thing I had drilled into me was to keep the chickens dry. I made it a point to keep them dry and they had extra bedding. I opted for a heated water bucket to keep their water from freezing but I still needed to check on them constantly to ensure no snow was getting into their coop during the windier times. It’s also a smart decision to consider getting animals that can handle more harsh weather conditions. I opted for Barred Rock chickens as they are cold-weather hardy chickens.
4. Inspect and Fortify Outbuildings
Snow weighs between 7 and 20 pounds per cubic foot depending on moisture content, and that weight accumulates relentlessly on rural outbuildings. Sheds collapse, garage doors freeze shut, and barn roofs fail—usually during the storm when you need shelter most. Structural preparation now prevents catastrophic failures later.
Structural Inspection Points:
- Check roof trusses for sagging, cracks, or separation
- Test snow load capacity (local building codes specify requirements)
- Reinforce questionable areas with temporary supports
- Clear gutters completely—ice dams destroy more than just gutters
- Adjust door bottoms to clear expected snow depth
- Lubricate all hinges and latches with graphite (won’t freeze like oil)
The relationship between snow load and structural failure follows predictable patterns: weak points fail first, failure accelerates with each storm, and prevention costs far less than reconstruction. A few hours of reinforcement work can save entire buildings.
DIY Tip: Install interior ceiling cables from peak to walls in older sheds. These cheap reinforcements can double load capacity without major renovation.
One of the biggest draws to the property I bought was the large machine shed and the large barn that were on the property. In all honesty, the barn was a corn crib that didn’t serve much purpose but the idea of having a barn like structure appealed to me. The large machine shed really caught my eye because of the possibilities of what I could use it for. I would need to ensure the roof was in good shape before winter and there were no loose panels because dragging a ladder out in the cold is miserable but also the level of danger increases with ice on a metal roof.
Part II: Access and Flow Management (Before First Major Snow)
5. Install a Snow fence to Manage Blowing Snow
Wind carries snow horizontally until obstacles make it drop, creating drifts that block roads, bury equipment, and strand vehicles. Snow fences harness this physics principle intentionally. They create controlled drift zones away from critical areas. Proper placement transforms blowing snow from an access problem into a manageable accumulation zone.
Installation Guidelines:
- Position fences 35 times their height upwind from protected areas
- Use 50% porosity materials (gaps equal solid portions)
- Angle fences perpendicular to prevailing winter winds
- Height determines protection distance: 4-foot fence protects 140 feet
- Secure posts deeply—frozen ground won’t allow winter adjustments
- Consider removable sections for equipment access
The aerodynamics are elegant: wind speed drops behind the fence, carrying capacity decreases, and snow deposits predictably. This controlled deposition keeps critical areas clear while concentrating removal efforts in planned zones.
This is something I wish I had done as I had a couple large snow storms where I ended up being snowed in for a few days. Take it from me, nothing is worse than trying to dig our 5 foot drifts of snow over 50 feet of driveway.
6. Maintain Access Roads and Driveways
Emergency vehicles need reliable access, delivery trucks require solid surfaces, and your own vehicles demand navigable routes. Rural driveways deteriorate rapidly under freeze-thaw cycles, snowplow scraping, and winter traffic. Proper preparation extends beyond snow removal to surface conditioning and visibility marking.
Pre-Winter Road Prep:
- Grade surfaces to promote drainage (2% slope minimum)
- Fill potholes with cold-patch or gravel (frozen holes become bigger holes)
- Stockpile sand or gravel in accessible, covered locations
- Mark driveway edges with flexible fiberglass stakes (every 20 feet)
- Identify and mark culverts, drop-offs, and soft shoulders
- Create turnaround areas for delivery and emergency vehicles
The mechanics of road failure follow moisture infiltration: water enters cracks, freezing expands them, and traffic accelerates deterioration. Proper grading prevents pooling, good drainage reduces infiltration, and edge markers prevent costly off-road incidents.
I didn’t have to worry about access to my property because I lived off a road that was a direct route between 2 towns. The average traffic by my home was still maybe 1 car an hour during the day, outside of planting and harvest seasons. I did have to contend with my mailbox being hit multiple times. Adding a bright reflective marker that stands at least 3-4 feet tall can help signal to plow drivers so they don’t hit your mailbox. They also make special mailbox poles that are made out of metal and are on a hinge that swing when hit.
Part III: Emergency Preparedness (Complete Before First Storm Warning)
7. Stock Up on Emergency Supplies
Rural isolation becomes genuine emergency when winter storms knock out power, block roads, and disable communication. Your nearest neighbor might be miles away, emergency services could take hours, and supply runs become impossible. Self-sufficiency isn’t paranoid preparation—it’s practical rural reality.
Essential Supply Categories:
- Power: Generator fuel (10+ days), batteries, solar chargers, candles
- Heat: Firewood (indoor supply), propane heaters, extra blankets
- Water: 1 gallon/person/day minimum, purification tablets
- Food: Non-perishables for 14+ days, manual can opener
- Medical: Prescription medications (30-day supply), comprehensive first aid
- Communication: Battery/crank radio, charged phone banks, emergency contacts list
- Tools: Snow shovels, ice melt, tire chains, tow straps, basic repair supplies
The calculation is straightforward: assume services won’t reach you for one week, then double your supplies. Power failures cascade into heating failures, communication breakdowns, and water system freezes. Each backup system needs its own backup.
There was one storm where I ended up being snowed in for 12 days. This was mostly due to me banking on it now snowing much over the winter and not getting new tires like I should have. I knew it could be a bit before I got out but it was still 12 days before a neighbor stopped by to check on me. They had noticed my car hadn’t moved for a while and came and checked on me and then plowed me out. Something I miss about living in a rural community is that sense of community. Neighbors looking out for each other, even though I had never met them before. Also, using neighbor loosely here as they still lived a mile and a half up the road from me.
Bonus Tip: Rely on Your Community
Continuing on from that last story, don’t be afraid to lean on your local community. As I said, someone I had never met got concerned because my car hadn’t moved for a while. When I spoke with my farmer neighbor they were almost mad I didn’t just call them to come plow out my driveway. This list can be daunting and for most people it can be near impossible to be 100% prepared. Making a large land purchase plus setting up a new home is already a large financial and emotional burden. Taking on additional equipment costs that you may not have properly budgeted for can also make you regret your purchase. A snow plow is a large expense and paying a neighbor to plow your driveway, when you need it, can help save money and ease your mind. You want to find enjoyment in your property in all seasons instead of worrying about what you could have done.
Remember: Every rural property is unique. Adapt these guidelines to your specific situation, elevation, and local weather patterns. When in doubt, don’t be afraid to ask longtime neighbors as they’ve learned these lessons through experience.
Don’t Let Winter Catch You Off Guard
The difference between rural winter veterans and newcomers isn’t courage or toughness, but preparation. Veterans know that October work prevents January emergencies, that backup systems aren’t excessive but essential, and that winter’s stark beauty is best appreciated from behind a roaring wood stove with a full propane tank.
Browse Lands selection of properties with the acreage, outbuildings, and infrastructure to support true country living or learn more about buying rural land.