In the classic, The Old Man and the Boy, Robert Ruark penned, “The old man used to say the best part of hunting and fishing was the thinking about going and the talking about it after you get back.”
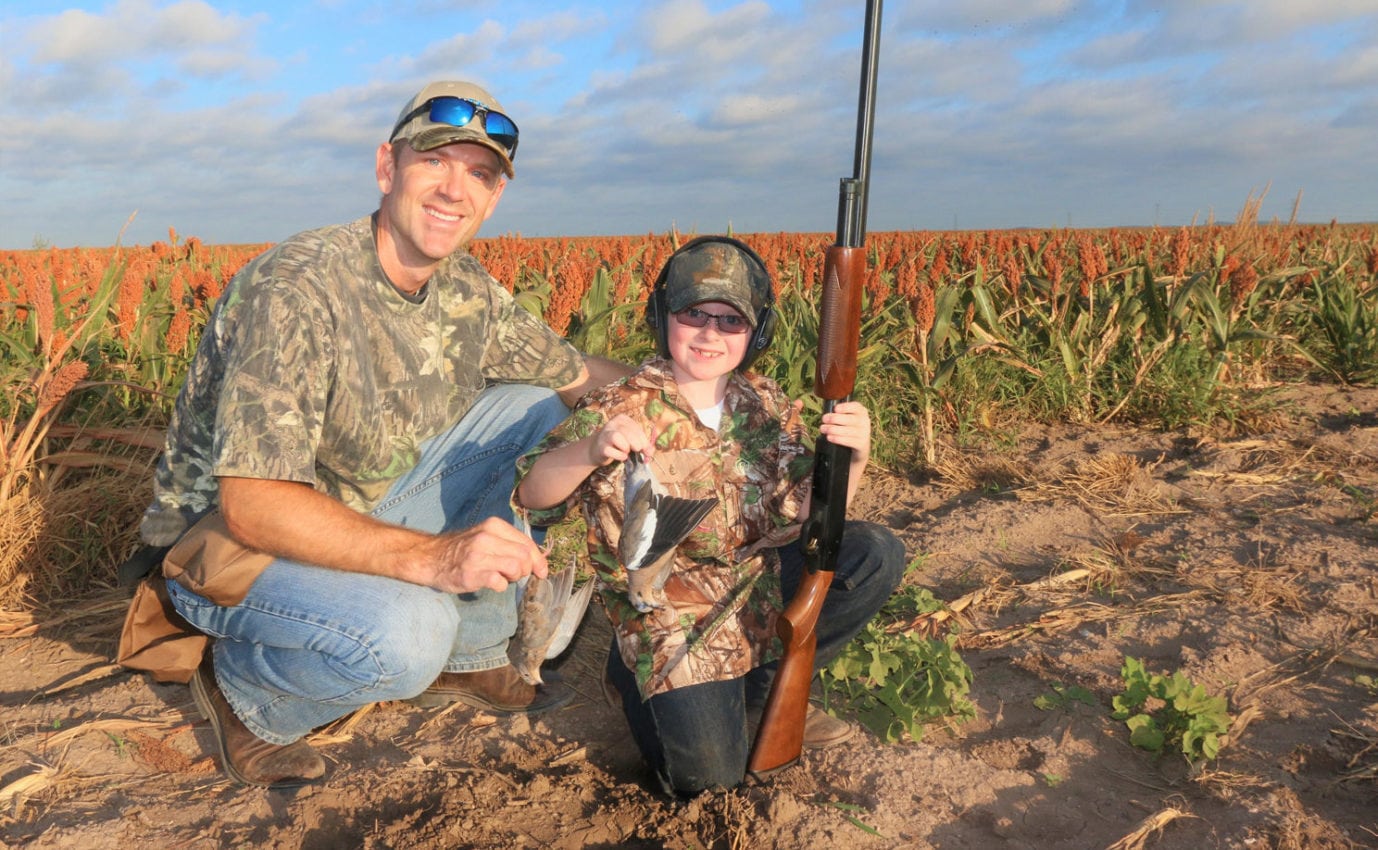
Indeed, much of the romance of hunting is the foreplay prior to the excursion and the after-play upon return, and this observation applies to those hunters who are sorting through websites, brochures, and Facebook pages as they consider their next hunting excursion. And, as they say, “A picture is worth a thousand words,” and those commercial hunting operations that understand how to capture and deploy quality harvest photos, will have a marketing advantage. Further, with the viral-effect that is now offered through social media, our hunting community should be diligent to only share harvest photos that maintain a degree of dignity for animal, while also representing hunting in a
wholesome manner; these things often only happen with purpose and proper execution.
Though the general quality of harvest photos has improved in recent years, there remains much slop in what is often seen on social media, as well as in marketing tools that you see in the hunting business. Fortunately, there are some easy steps that make a difference in capturing some quality field photos.
Have your own wildlife business-related question? Ask Greg here!
Tools
Camera – These days there are endless options for good cameras, many of which are very affordable. Digital SLR cameras provide for more versatility, especially with lens options, but don’t overlook the compact point-and-shoot cameras. Something with at least 12-15 Megapixels and flash capabilities will suffice.
409 Spray Cleaner – This product is magical for removing fresh blood. Use the standard agent with no bleach. Spray bloody areas around the face and neck of the animal, wipe with paper towels, and continue to repeat until much of the blood is removed.
Comb – A comb is not only helpful in grooming the hair, but is also the best tool for removing a large portion of dried blood. Before re-hydrating the dried bloody areas with 409, try to fleck out as much of the dry blood and dirt as possible with the comb, and then use the 409 to finish.
Taxidermy Eyes – Once big-game animals have set for several hours, their eyes begin to recess. By popping in a set of glass taxidermy eyes, you’ll be able to recapture a much nicer look in the eyes.
Modeling Clay – This can be an excellent tool for repairing broken tines. Though larger animals, such as elk and moose, may be too large for this technique, this works wonderfully with repairing tines on mule deer and whitetails. You can purchase modeling clay at most arts/crafts stores.
Props – Make sure that the hunter is dressed in an attire that is reflective of appropriate hunting or outdoor wear. Also, taking some shots that incorporate gear, such as gun, empty ammo hulls, binoculars, spotting scope, and daypack, will often provide for interesting photo variety.
Technique
Light – Proper lighting is fundamental to capturing good photos. Unless the sun is low (first and last hour of light), always use a flash, even if you must use a camera setting that over-rides the camera. A flash will help reduce hard shadows, and will also provide much better tone quality on cloudy days. Night time flash photos of antlered and horned game are often very impressive, as the antlers and horns are often silhouetted with the flash against the dark background.
Positioning – With big-game animals, a good rule of thumb is to have the animal quartering toward the camera at an approximate 45-degree angle, as opposed to straight-on or horizontal. Animals head should always be positioned in front of the hunter, and with mule deer, whitetails, and pronghorn, the chin of the animal should always be pointed downward to ensure that the antlers/horns are oriented properly in relation to the camera. Also, make sure that there is a clean, natural background, as opposed to buildings or vehicles being within view. Take some photos from a low angle, somewhere the cameraman is standing and shooting at a slight downward angle, and get a variety of shots with the animal’s head positioned differently, such as straight-on, profiles, and 45’s.
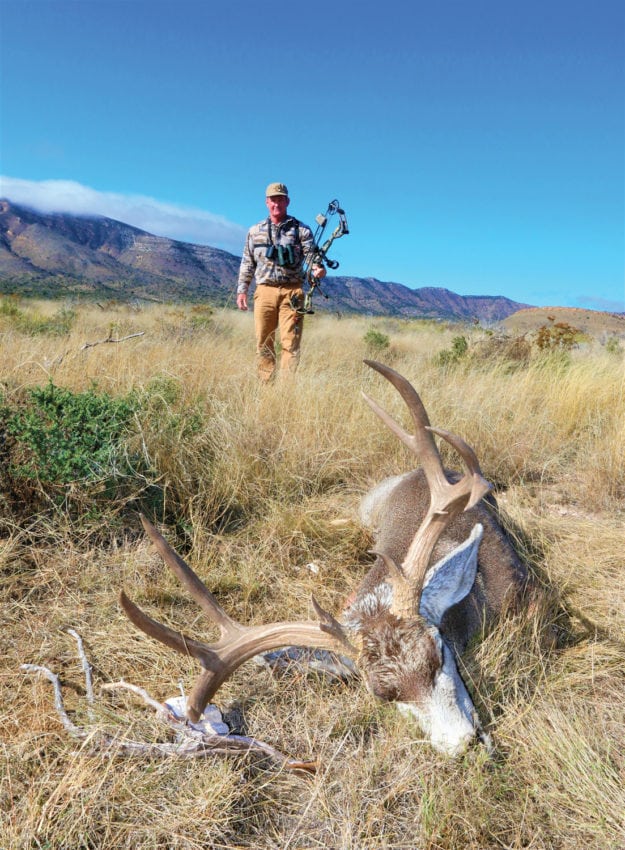 Wide Angle Lens – Generally, use a wide-angle lens for game harvest photography, and a setting equivalency of 30–35 mm is a good rule of thumb. Many cameras have a zoom lens these days, so avoid zooming in, as this will typically provide for a telephoto lens above 50 mm and anything in the foreground will appear to be smaller than it actually is; this is a great way to shrink your deer antlers! On compact point-and-shoot cameras, typically use the widest lens setting.
Shoot Close-Ups – With the wide-angle lens, you need to be relatively close to the animal, typically within 4’–5’. Except for elk, it’s often easier to properly frame-up the animal and hunter by shooting vertically oriented photos. But, again, variety is good, so shoots lots of photos with some variation.
Technology – Though some camera purists may not agree with this, do not hesitate to use the editing tools that are available on most computers these days. These tools can allow you to remove bloody spots, tongues that hang from the mouth of the game, and will help avoid unsightly images that may be offensive to some folks. These editing tools are also helpful in improving light and tone quality, as well as color content of the images.
If our hunting community is going to continue to wave our flag as being the foremost conservationists, we have a duty to practice a conservation ethic that, among other things, broadcasts images that are sensitive to a discerning public. Game harvest photography is a fundamental tool that profoundly speaks to this public relations concern.
Have your own wildlife business-related question? Ask Greg here!
